You can create a stunning DIY shelf in just three easy steps using supplies from Home Depot! First, gather your materials—think durable wood or metal for a lasting piece that suits your style. Next, assemble the shelf by attaching the side panels to the top, ensuring everything is level and secure. Finally, install your shelf at eye level and add your personal touch with books, plants, or decorative accents. Isn't it exciting to transform your space like this? Embrace your creativity, and you'll discover plenty of tips and tricks to make your project even more special!
Design Highlights
- Select Your Materials: Choose durable wood, metal, or reclaimed materials from Home Depot, considering moisture resistance and lightweight options for your shelf.
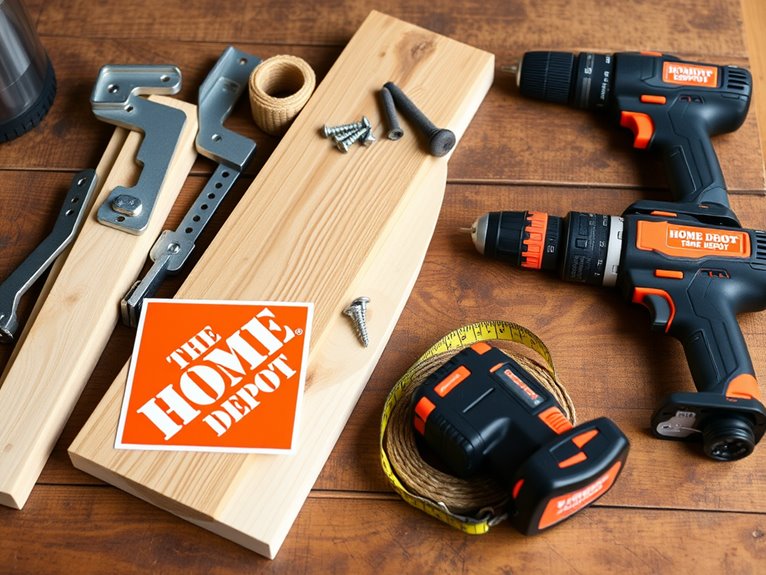
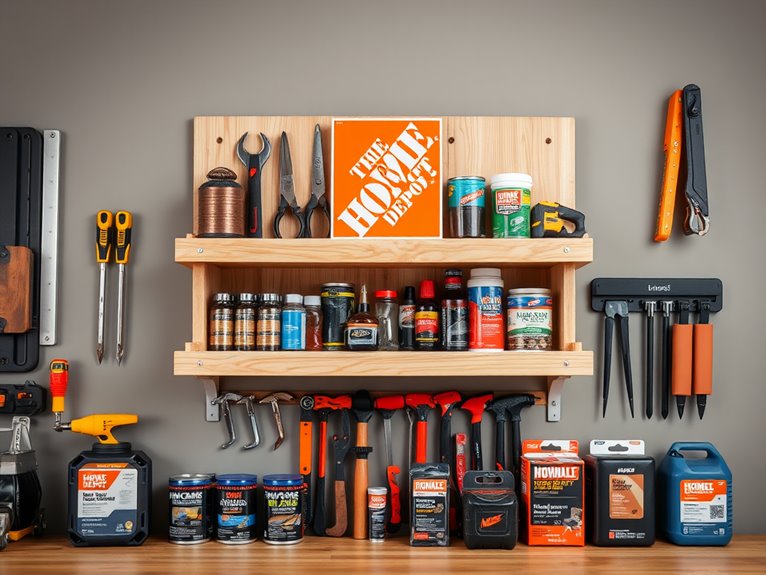
- Gather Essential Tools: Prepare tools like a saw, drill, screws, and sandpaper, ensuring you have everything needed for assembly before starting.
- Assemble the Shelf: Lay out your pieces, attach side panels to the top shelf, and secure additional shelves for a sturdy structure.
- Install with Care: Determine the ideal height, use a level for straightness, and secure the shelf with wall anchors for safety.
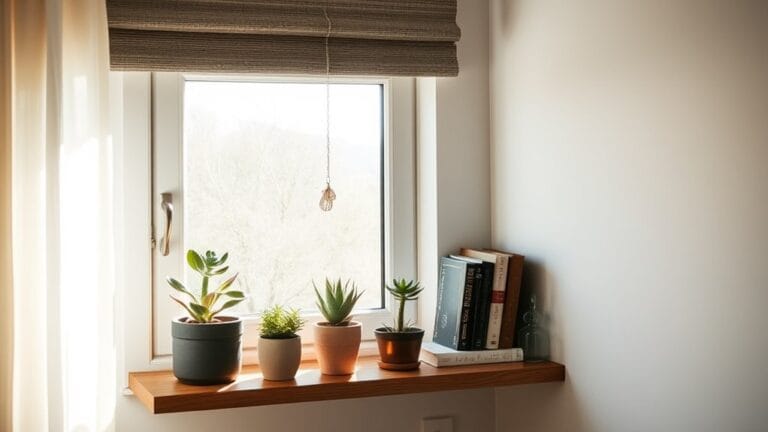
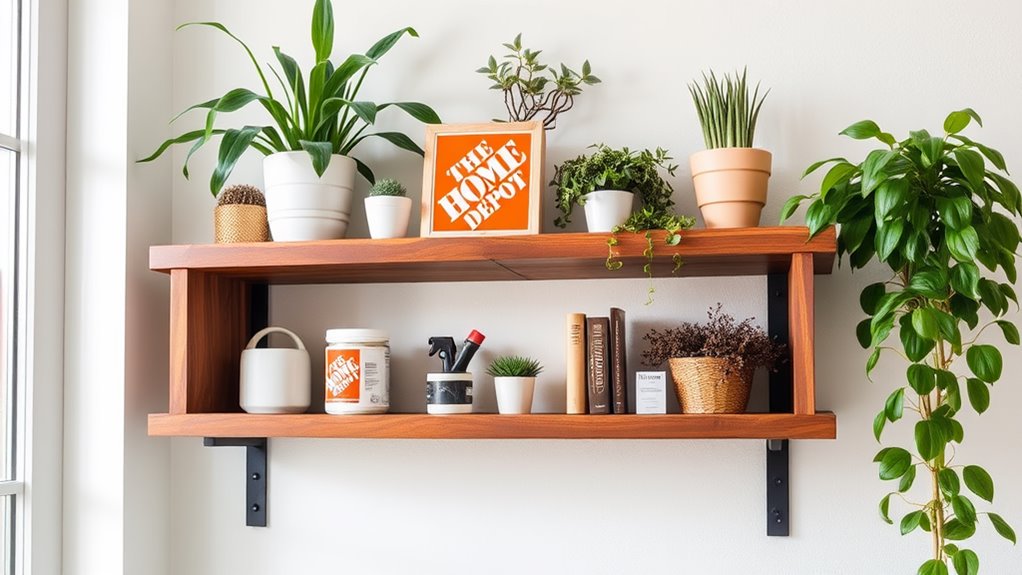
- Style Your Shelf: Personalize the shelf with books, plants, and decorative items while ensuring functional items remain easily accessible.
Gather Your Materials
To kick off your DIY shelf project, you'll need to gather your materials. Start by deciding on the material types you want to use. Wood, metal, or even reclaimed materials can make your shelf unique. Each type has its own charm and durability, so think about what fits your style best. Additionally, choosing durable materials will ensure that your shelf lasts for years, especially if you consider options that are moisture-resistant for better longevity in varying conditions. Incorporating lightweight materials can also enhance the airy feel of your shelf's decor. To create a visually appealing shelf, consider adding pastel accents that can evoke tranquility and freshness.
Next, it's time for tool selection! Having the right tools will make the building process much smoother. You'll likely need a saw, drill, screws, and sandpaper, among other items.
Don't worry if you don't have everything; Home Depot has a fantastic selection, and you can rent tools if needed. Additionally, consider incorporating spring shelf decor essentials like pastel-colored decorative elements to enhance the aesthetic of your new shelf.
Once you've chosen your materials and tools, make a checklist. This way, you won't miss anything and can enjoy the project without unnecessary trips back to the store.
Assemble the Shelf
Once you've got all your materials ready, it's time to assemble the shelf. Start by laying out your pieces according to your shelf design. This makes it easier to visualize how everything fits together. Grab your drill or screwdriver, and let's get started!
Begin with the side panels. Attach them to the top shelf using sturdy screws, ensuring everything's aligned. Don't forget to check that your assembly techniques keep it level—this is key for a sturdy shelf. Adding stylish decor elements can enhance the overall aesthetic of your shelf, creating a cozy atmosphere for your outdoor space. Consider incorporating durable materials to ensure your shelf can withstand summer elements while bringing seasonal charm to your design.
Next, attach the bottom shelf and any additional shelves you planned. Secure them well; you want this beauty to hold your favorite items.
As you assemble, take a moment to admire your handiwork. Each connection you make brings your vision to life! If you're feeling adventurous, consider adding some decorative brackets for extra flair. They not only support your shelves but also add a stylish touch. Incorporating durable, high-quality materials ensures your shelf decor remains charming over time.
Once you've tightened everything up, give your shelf a gentle shake. It should feel solid. If it wobbles, double-check your screws.
You've put in the effort, and soon, you'll have a gorgeous shelf ready for display! Now, let the excitement build for the next steps!
Install and Style Your Shelf

With your shelf assembled and sturdy, it's time to install it in your desired space. Choosing the right shelf placement can transform your room! Before you start, consider these tips for a stylish and functional installation:
- Find the Perfect Height: Aim for eye level; it makes your shelf feel inviting.
- Use a Level: Verify your shelf is straight for a polished look.
- Secure It Well: Use wall anchors if needed; safety first!
- Style with Care: Mix functional items with decorative accents to create visual interest.
Once your shelf's up, let your personality shine through! Add books, plants, or your favorite photos to make it uniquely yours.
Play with different shapes and sizes to keep things exciting. Don't forget to incorporate decorative accents that reflect your style—think unique vases or fun knick-knacks.
Frequently Asked Questions
What Type of Wood Is Best for a DIY Shelf?
When choosing wood for your DIY shelf, think about pine versus plywood.
Pine is lighter and offers a warm, natural look, perfect for smaller shelves.
Plywood, on the other hand, is strong and can handle heavier items, making it great for larger projects.
Consider the weight of what you'll put on the shelf.
With the right choice, you'll create something beautiful and sturdy that fits your space perfectly.
Ready to get started?
How Much Weight Can My DIY Shelf Hold?
Imagine placing your favorite books on that beautiful shelf you built.
How much weight can it hold? Typically, a well-constructed DIY shelf can support around 20 to 50 pounds, depending on the wood and support brackets you choose.
To guarantee safety, always check the weight limits for your materials.
It's exciting to create something sturdy and stylish!
Can I Customize My Shelf Dimensions?
Absolutely, you can customize your shelf dimensions!
When you think about your shelf design, consider what space you have and how you want to use it.
You've got plenty of dimension options to fit your needs perfectly.
Whether it's a narrow bookshelf or a wide display, tailoring the size will make your project unique.
Isn't it exciting to create something that's just right for you?
Let your imagination guide you!
What Tools Are Essential for Building a Shelf?
To build a shelf, you'll need some essential tools for your shelf design.
Grab a measuring tape to get those dimensions right, a level to guarantee it's straight, and a drill for easy assembly.
Don't forget a saw for cutting wood and a sander for that smooth finish!
With the right tool selection, you'll create a sturdy shelf that perfectly fits your space.
Ready to get started? It's going to be fun!
How Do I Finish or Paint My Shelf?
To finish or paint your shelf, start by choosing the right paint types—like acrylic or chalk paint—for your desired look.
Sand the surface lightly to create a smooth finish, then wipe away dust.
Apply a primer for better adhesion, followed by your chosen paint with even strokes.
Want a glossy finish? Consider a clear topcoat!
Experiment with shelf finishing techniques, and let your creativity shine!
You'll love the transformation!
Conclusion
Now that you've built your DIY shelf, take a moment to admire your handiwork. Isn't it amazing how simple supplies can transform your space? This project isn't just about storage; it's a chance to express your creativity and make your home feel more like you. So, why not add a few personal touches? Maybe some plants or favorite books? Immerse yourself in this journey of self-expression, and let your newly crafted shelf shine the way you do!