You can create chic DIY shelf decor that beautifully blends the warmth of wood with the sleekness of metal. First, choose sturdy wood like white oak and pair it with stylish black metal brackets to achieve a modern look. Think about the size of your shelves—kitchen shelves should be deeper for dishes, while living room shelves can display your books and decor. Prepare your wood by sanding and staining it for a polished finish. Play around with creative placements and decor arrangements for visual interest, and don’t forget to add personal touches. Curious about more tips? There’s plenty more to explore!
Design Highlights
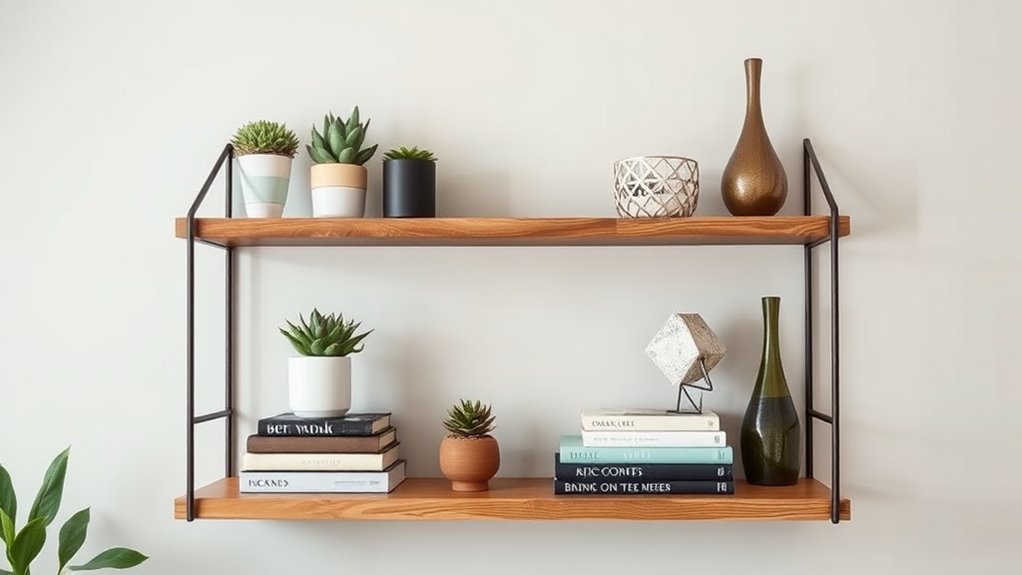
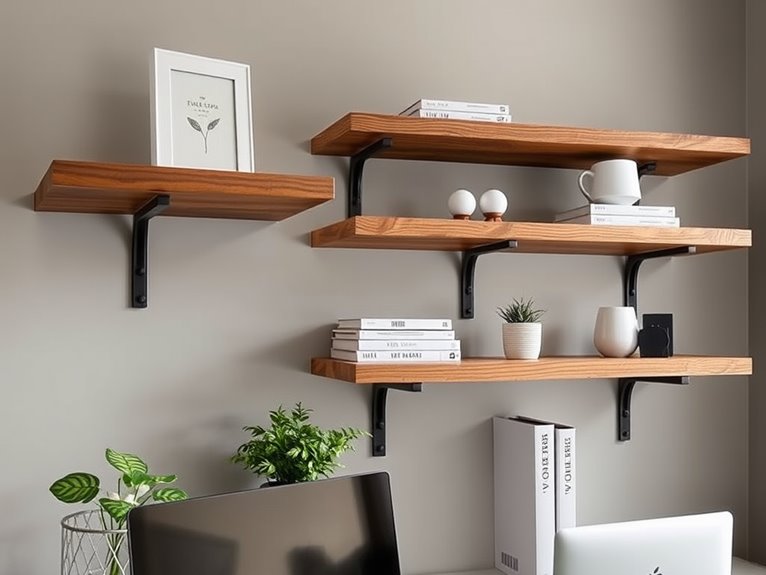
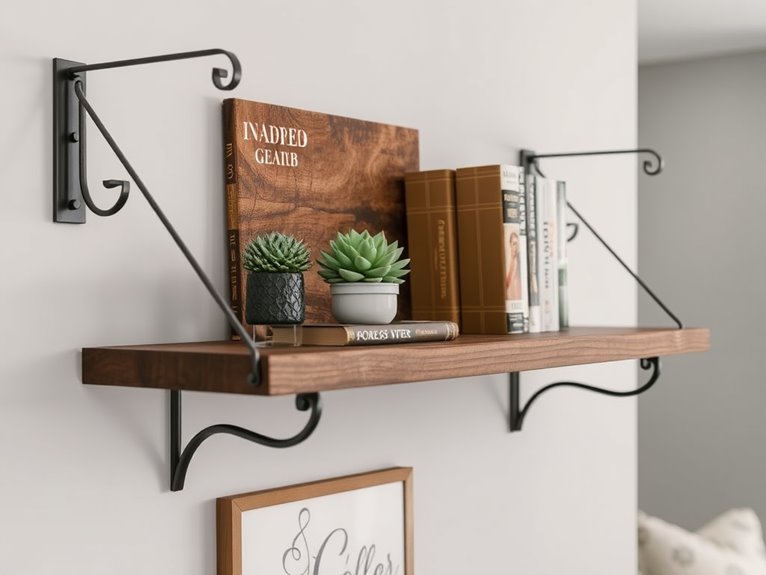
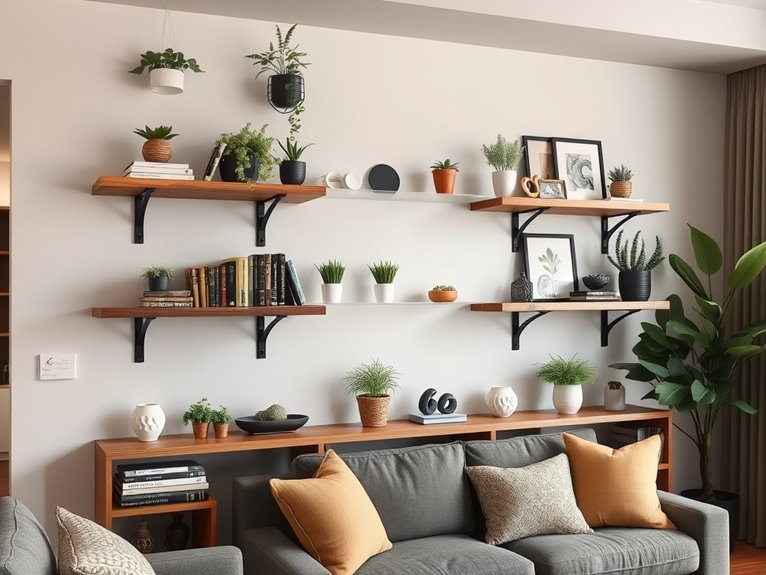
- Combine sleek black metal brackets with rustic wood shelves for a chic contrast that enhances any room’s decor.
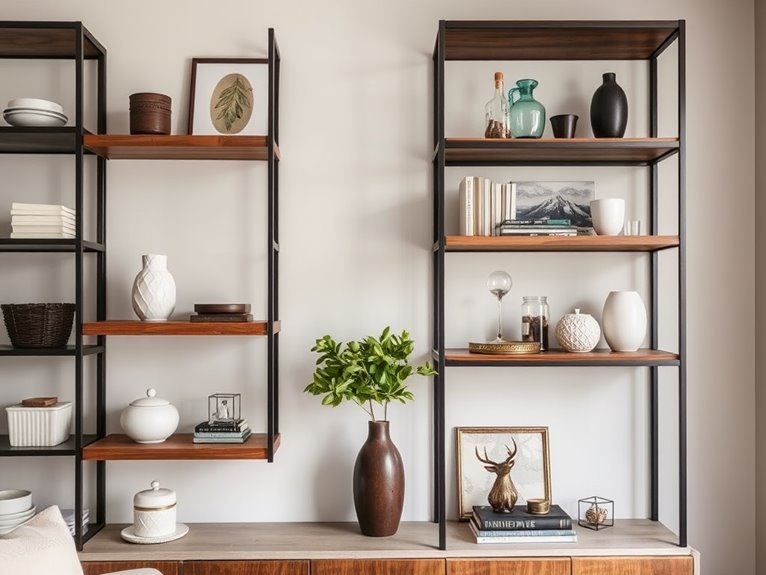
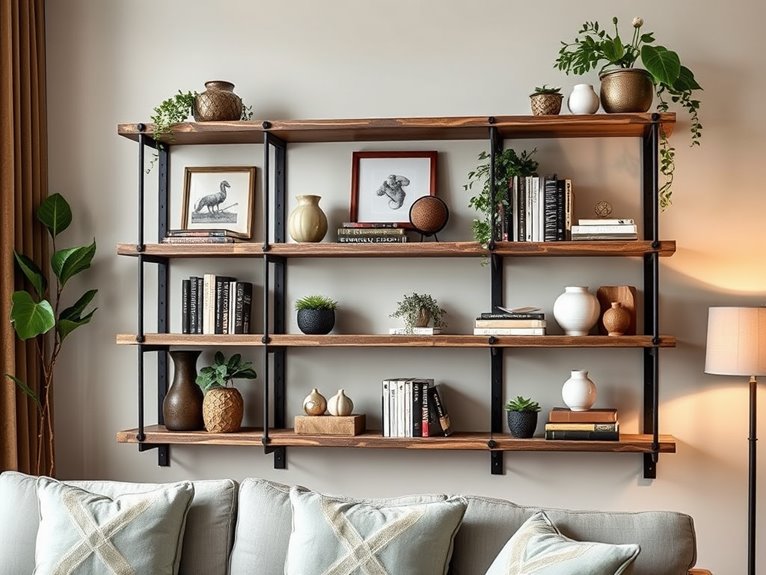
- Use varying shelf depths to create visual interest while maintaining functionality and style in your DIY shelving project.
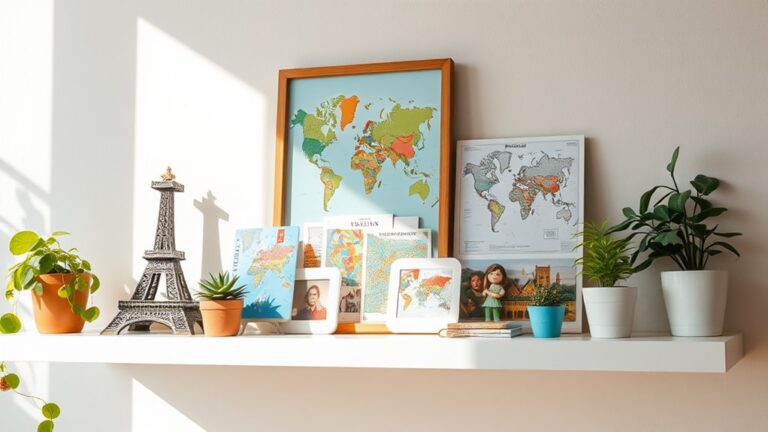
- Incorporate decorative trays and natural elements to organize items and add texture to your shelf displays.
- Choose a high-quality wood like white oak for durability and aesthetic appeal, complemented by stylish metal accents.
- Experiment with color coordination and seasonal decor elements to keep your shelves fresh and inviting throughout the year.
Essential Materials for DIY Shelves
When you’re gearing up to create your own DIY shelves, it’s important to gather the essential materials that will set you up for success. Start with high-quality shelf boards—think white oak or rough saw pine. These choices not only offer durability but also bring a beautiful aesthetic to your space, making them an excellent choice for summer kitchen shelf decor. Additionally, incorporating rustic wooden shelves can enhance the warm, inviting atmosphere of your kitchen, especially when styled with seasonal decor essentials.
Next, don’t forget about metal shelf brackets. Opt for a sleek black finish for a modern look that complements your shelves perfectly. These brackets provide strong support, ensuring your shelves can hold everything from books to decorative items. You’ll typically find fasteners like bolts or screws included with the brackets, which is a huge help for proper installation. Additionally, using decorative trays can enhance the organization and visual appeal of your shelves.
Measuring tools are also vital. Grab a measuring tape and a long level to make sure your shelves fit and hang straight. You wouldn’t want a lopsided display, would you? Additionally, consider using stylish shelf decor to further enhance the visual appeal of your shelves.
Finally, gather additional tools like a cordless drill, painter’s tape, and a pencil for marking. With these materials in hand, you’re ready to start your DIY shelving adventure! Doesn’t it feel great to take charge and create something beautiful for your home?
Selecting the Right Shelf Size
Selecting the Right shelf size is essential to guaranteeing your space is both functional and aesthetically pleasing. Think about what you’ll use your shelving for as you embark on this DIY project.
In the kitchen, shelves need a depth of 11.25-12 inches to hold dishes and jars comfortably. For bathrooms, aim for around 5.58 inches deep, perfect for toiletries without hogging all the space.
Living rooms can be more versatile; shelves from 5.5 to 9.25 inches deep let you showcase decor and books beautifully. Consider incorporating color coordination to enhance the overall aesthetic of your shelf decor. To add a seasonal touch, consider cozy fall decor elements that can make your space feel inviting. Additionally, you might want to explore the use of durable materials like solid wood to ensure your shelves withstand the humidity of different environments.
If you’re considering photo ledges, keep them between 3.5 to 5.5 inches deep. This keeps your cherished frames secure and your wall looking neat.
Pantry shelves, on the other hand, should be deeper—about 15-18 inches—to support bulkier items, so don’t forget those heavy-duty supports for stability.
Additionally, ensure that you consider material quality when selecting shelves, as this can greatly affect the durability and longevity of your decor.
Before you start, check your wall studs. They’ll help guarantee your shelves stay secure and can hold everything you plan to display.
Preparing Your Wooden Shelves

After selecting the right shelf size, the next step is preparing your wooden shelves for a polished look and lasting durability. Start by cleaning the wood—removing any dust or debris is essential, as it guarantees a clean surface for treatment. You want those shelves to shine!
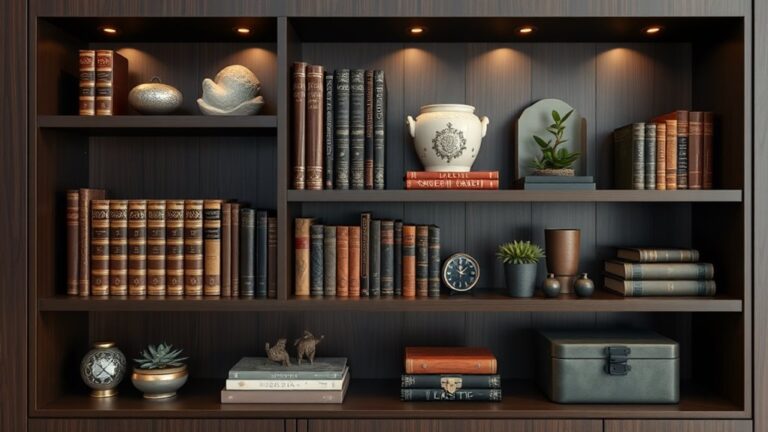
Once your boards are clean, grab a palm sander. Sanding the wood creates a smooth surface, which helps with better stain absorption, so you achieve that flawless, stained finish. If you’re aiming for a rich color, consider using Rust-Oleum Watco Dark Walnut Danish Oil. It highlights the wood grain beautifully, giving your shelves a warm, inviting feel. Additionally, it’s important to choose high-quality materials to ensure the longevity of your decor. Incorporating moisture-resistant materials in your decor choices will further protect your shelves against humidity. To enhance the aesthetic appeal of your shelves, consider using decorative accents that reflect your personal style. Adding spring-themed decor items can also bring a refreshing touch to your space.
Now, think about your decor style. Do you prefer a natural look, a stained finish, or maybe something painted? Deciding this early will help you create a cohesive aesthetic in your space. Additionally, consider incorporating pastel-colored decorative elements that can enhance the overall spring vibe of your decor.
Finally, don’t forget to embrace the beauty of wood floating—these shelves can be both functional and stunning! By following these pre-installation steps, you’re setting the stage for stylish and durable wooden shelves that will elevate your home decor. Get ready to impress!
Choosing Stylish Metal Brackets
As you commence on the journey of decorating your shelves, selecting the right metal brackets is essential for both support and style. The right shelf brackets not only hold up your heavy-duty shelf but also enhance the overall aesthetic of your space. To create an inviting atmosphere, you might also want to incorporate summer home office decor that complements your chosen brackets. Additionally, using stylish shelf decor can tie the entire look together.
Consider these options to elevate your decor:
- Heavy-duty J brackets: Perfect for kitchen shelves, they provide strength and stability.
- Black metal brackets: These add a sleek, modern industrial look that fits various styles.
- Cascade Iron Co. brackets: Known for their durability and USA manufacturing, they’re a favorite among DIY enthusiasts.
- Size matters: Make sure the brackets are proportionate to your shelf dimensions for visual balance. Additionally, choosing materials that are durable and lightweight ensures easy rearranging without damaging your shelves. This is especially important when incorporating vibrant summer decor to create a lively atmosphere. Incorporating natural elements into your decor can further enhance the summer vibe and warmth of your space.
Installing Your Shelf Decor
Installing your shelf decor can transform your space, but it’s vital to do it right. Start by verifying your wood shelves are mounted securely into wall studs. This step is essential for maximum stability, especially when you’re displaying heavier decor items. You want those beautiful pieces to stay put, right?
Before you begin, grab a long level. This handy tool helps assure that your shelves are perfectly horizontal, preventing anything from sliding off. Additionally, using a mix of sizes in your decor can create a balanced look that enhances visual interest. Incorporating high-quality materials in your decor choices will also ensure longevity and durability. Consider using weather-resistant materials to maintain decor integrity in humid environments. Incorporating durable materials like wood can withstand the rigors of a workout space while maintaining aesthetic appeal.
Don’t forget to pre-drill holes for your screws or bolts; this prevents splitting the wood and guarantees precise placement of brackets.
As you think about installing your shelf decor, consider the weight capacity of your chosen shelf brackets. You wouldn’t want your shelves to sag or fail under the weight of your favorite items. Additionally, ensure that your decor pieces are made from high-quality materials to enhance durability and support.
Also, think about the spacing between your shelves. An average spacing of 12 inches is ideal for the best styling and visibility. Aim to create visual interest by mixing decor pieces of varying heights and styles.
Creative Shelf Placement Ideas
Creative shelf placement ideas can transform your space, especially when using rustic wood for that cozy touch. Here are some tips to get you started:
- Height Matters: Install your shelves 4-6 inches above eye level for easy visibility and access.
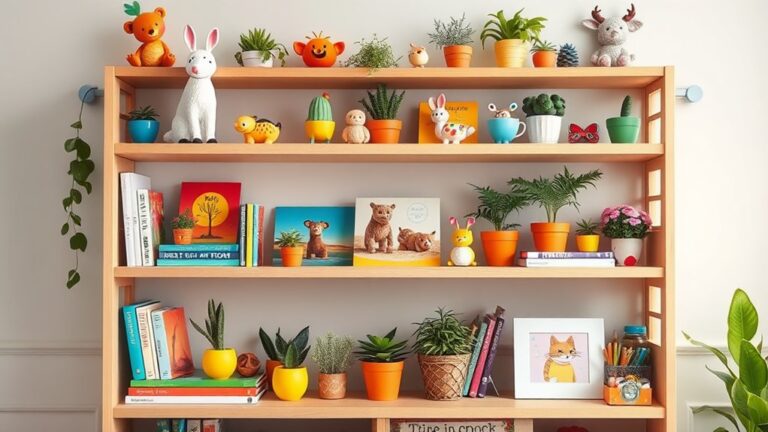
- Mix Shelf Depths: Combine deeper shelves for heavier items and shallower ones for lighter decor to add visual interest.
- Color and Category Coordination: Arrange items by color or category to keep a balanced aesthetic and avoid clutter.
- Utilize Corner Spaces: Floating shelves fit perfectly in corners, maximizing unused areas while enhancing your decor.
- Incorporating durable materials ensures that your decor remains charming and intact throughout the winter season.
Frequently Asked Questions
What Is the Rule of Thumb for Decorating Shelves?
When decorating shelves, a great rule of thumb is the “three-item” rule. Grouping items in threes creates balance and visual interest.
Mix heights—tall, medium, and short—for a dynamic look. Don’t forget to leave some space; it’ll keep your shelves from feeling cluttered.
Stick to a cohesive color palette for harmony, and layer your items, placing larger ones at the back.
Ready to create your perfect shelf display? Let your creativity shine!
Are Floating Shelves Out of Style in 2025?
Are floating shelves out of style in 2025? Oh, please! They’re still the darlings of interior design.
You’ll find them gracing homes, adding that sleek touch while keeping things functional. With bold colors and textures making a splash, you can personalize your space like never before.
Plus, who doesn’t love sustainability? So, embrace those floating shelves—your decor deserves it! Isn’t it time you made a stylish statement?
How to Make Shelves Look Cute?
To make your shelves look cute, start by mixing decorative objects like books, plants, and photos.
Don’t be afraid to play with heights—group items in odd numbers for a balanced look.
Adding a touch of lighting, like fairy lights, can create a cozy vibe.
Consider using decorative boxes or baskets for storage; they add texture too!
Are your shelves reflecting your personality?
Let your creativity shine and enjoy the process!
What Are the Disadvantages of Metal Shelves?
Metal shelves can sometimes feel like a heavy weight on your design dreams!
They’re prone to rust and can scratch easily, which mightn’t give you the look you want over time.
Plus, they conduct heat and cold, affecting sensitive items.
Installation can be tricky too, as their weight often demands sturdy support.
While they offer a modern vibe, do you really want to sacrifice warmth and versatility in your space?
Conclusion
So, as you commence your DIY shelf journey, think of each wooden plank as a blank canvas and the metal brackets as sturdy brushstrokes. Together, they create a masterpiece that reflects your style. Don’t just place items on your shelves; let them tell your story! With a dash of creativity and a sprinkle of love, your shelves can transform into a warm embrace for your favorite things. Are you ready to craft a space that inspires? Let’s get started!