Making a shelf out of wood can be a fun and fulfilling project that adds both style and utility to your space. First, decide where you want the shelf and what it'll hold. Then, choose your wood based on strength and your budget. Gather essential tools like a saw and drill, measure and cut your wood, and sand it to a smooth finish. Next, install sturdy brackets, then place the shelf on top. Finally, decorate it with items that reflect your taste. Excited to get started? There's much more to explore to make this project a success!
Design Highlights
- Determine the purpose and location for your shelf, considering wall material and decor integration for effective planning.
- Select the appropriate type of wood based on strength, weight capacity, and budget, ensuring sustainability of the wood source.
- Measure and cut the wood accurately, using the right tools to achieve clean cuts and a precise fit for your shelf.
- Install brackets securely, ensuring they are level, and properly anchor them based on the wall type before placing the shelf.
- Test the shelf for stability after installation, then style it with decorative items that reflect your personal aesthetic.
Determine Shelf Location

Before you grab your tools, take a moment to assess where you want your shelf to go. Think about the purpose of your shelf. Will it hold books, plants, or perhaps your favorite collectibles? This will guide you in determining the ideal shelf height. You want it accessible but also visually appealing.
Next, consider your wall material. Are you working with drywall, concrete, or brick? Each material requires different anchors or screws to secure your shelf properly. If your wall is drywall, you'll need to find the studs for support. If it's concrete, a masonry drill bit will be your best friend. Additionally, using appropriate anchors ensures a sturdy shelf that can hold your fall-inspired decor. To enhance the aesthetic of your shelf, consider incorporating natural materials like wood or wicker. Stylish patio shelf decor can also be a great addition to complement the seasonal theme.
Once you've chosen the location, visualize how your shelf will integrate into the room. Does it complement your existing decor? Will it enhance the space? Taking a moment to picture the finished result can be truly inspiring. Additionally, considering color schemes and thematic cohesion will help ensure your shelf decor aligns beautifully with the overall aesthetic of your space. Incorporating seasonal symbols like leaves or pumpkins can further enhance the fall theme of your shelf decor.
Choose Your Wood
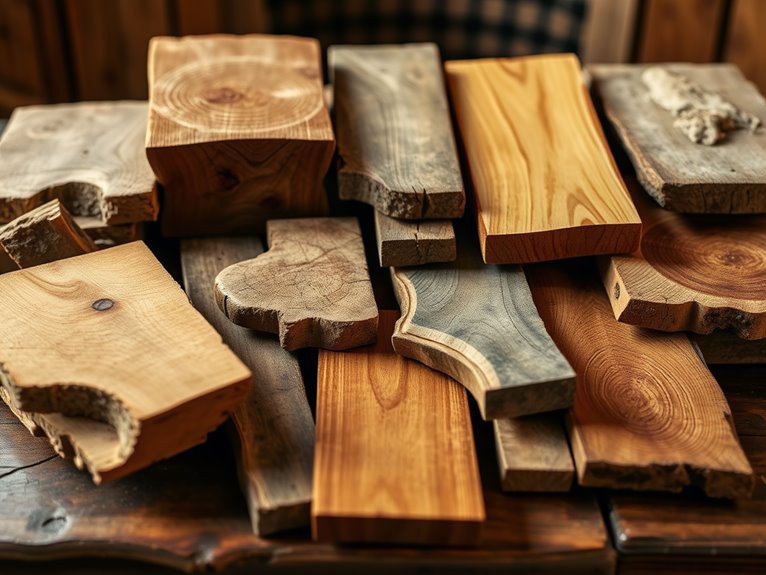
Now that you've marked the perfect spot for your shelf, it's time to choose the right wood for the job. Selecting the right material is essential for both aesthetics and durability. You have some fantastic options!
If you want that classic, polished look, consider hardwood options like oak or maple. They're strong and can handle heavier items, making them perfect for your needs. Additionally, using quality wood can enhance the overall charm of your decor. Choosing durable materials can also withstand wear and tear from daily use. To create an inviting atmosphere, consider adding patio shelf decor that complements your wood choice. Incorporating seasonal decor can further elevate the aesthetic appeal of your shelf.
On the other hand, if you're looking for something lightweight yet sturdy, plywood might just be your best friend. Plywood benefits include easy handling and versatility, making it suitable for a variety of projects. It's often more budget-friendly too!
Here are some things to keep in mind when choosing your wood:
- Purpose: What'll you store on the shelf?
- Weight: Will it hold heavy items or just lightweight decor?
- Finish: Do you prefer a natural wood look or painted finish?
- Cost: What's your budget for this project?
- Environment: Is the wood sustainably sourced? Incorporating high-quality wood ensures durability for seasonal use in your decor projects.
With these factors in mind, you're well on your way to selecting the perfect wood for your shelf! Happy crafting!
Gather Necessary Tools
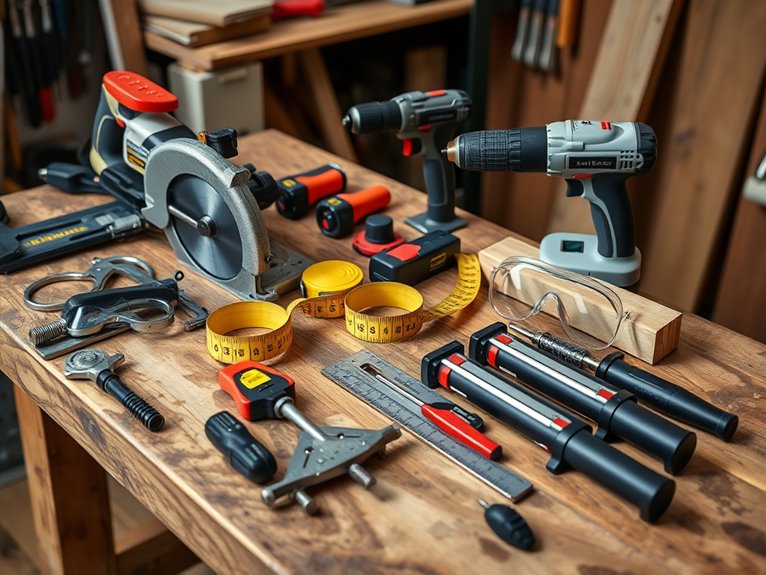
To build your wooden shelf, you'll need a reliable toolkit that includes essential tools for cutting, assembling, and finishing. Start by gathering tool types like a circular saw or hand saw for cutting, a drill for making holes, and a level to guarantee your shelf sits straight.
Don't forget a measuring tape and square—these will help you get accurate dimensions.
Once you've collected your tools, it's vital to reflect on tool maintenance. Keeping your tools in good shape not only guarantees safety but also improves their performance. Sharpening blades, cleaning surfaces, and checking for rust are all part of proper upkeep.
Before you plunge into the project, take a moment to familiarize yourself with each tool. Knowing how to use them effectively can make a huge difference in your results.
Have you ever tried using a tool you weren't comfortable with? It often leads to frustration! So, take your time, and don't hesitate to read manuals or watch tutorials.
With the right tools and a little preparation, you're ready to set out on your exciting shelving adventure! Let's get started and create something wonderful together.
Measure and Cut Wood
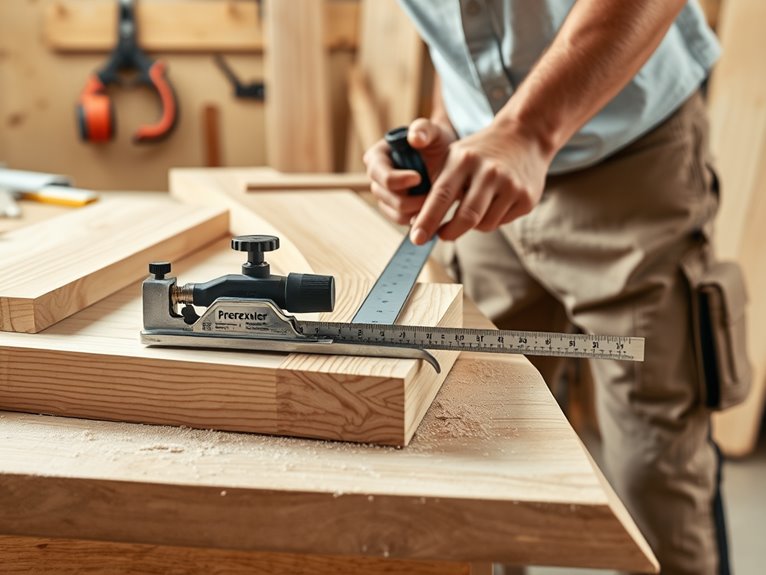
With your tools ready, it's time to measure and cut the wood accurately for your shelf. Getting the right wood dimensions is essential, so take a moment to decide on the size you want. Grab your tape measure, and start marking where the cuts will go. Remember, measure twice and cut once—it's a phrase for a reason!
Here are some helpful tips to keep in mind:
- Use a straight edge for accuracy
- Consider using a miter saw for clean cuts
- Mark your cuts clearly with a pencil
- Don't rush; precision is key
- Double-check your measurements before cutting
Once you've marked your wood, it's time to employ your cutting techniques. Whether you're using a hand saw or a power saw, stay focused and steady. Each cut you make brings you closer to your project.
Sand and Finish Wood
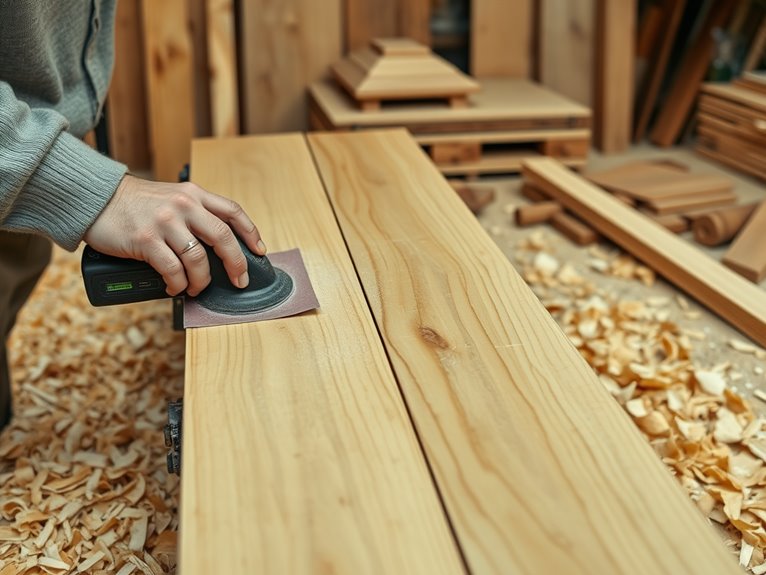
After cutting your wood, the next essential step is to sand and finish it to achieve a smooth, polished look.
You'll want to start with coarse sandpaper, around 80-grit, to remove any rough edges or splinters. As you progress, switch to finer grits, like 120 and then 220, to create a silky feel. Remember, patience is key! Are you ready to put in a little elbow grease?
Once you've sanded your wood, it's time for wood finishing. This step not only enhances the appearance but also protects your shelf from wear and tear.
Choose a finish that suits your style—whether it's a clear varnish for a natural look, or a stain to add color. Apply the finish with a brush or cloth, following the wood grain for the best results.
Let it dry according to the manufacturer's instructions, then lightly sand again between coats for a flawless finish.
You'll be amazed at how much difference this makes! With your wood sanded and finished, you're one step closer to creating that beautiful shelf.
Now, doesn't that feel rewarding?
Assemble Shelf Brackets
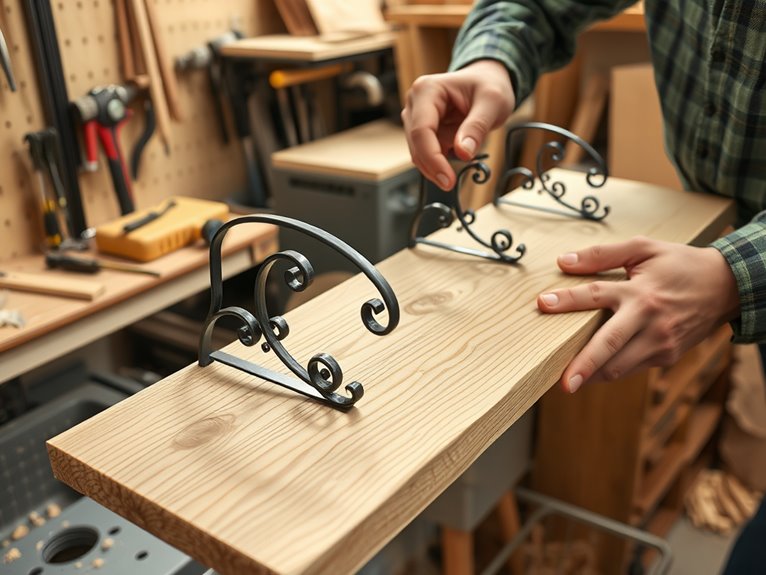
Assembling shelf brackets is an essential step that can make or break the stability of your new shelf. You want to guarantee that your brackets are securely attached and perfectly aligned for the best support.
There are various bracket types available, so choose ones that match your style and can handle the weight of your shelf.
Here are some tips to keep in mind while assembling:
- Check for level: Use a level tool to guarantee your brackets are straight.
- Use the right screws: Choose screws that fit your bracket types and wall material.
- Follow installation techniques: Read the instructions that come with your brackets; they often provide valuable insights.
- Pre-drill holes: This can prevent your wood from splitting and make installation smoother.
- Get help if needed: Don't hesitate to ask a friend for an extra pair of hands.
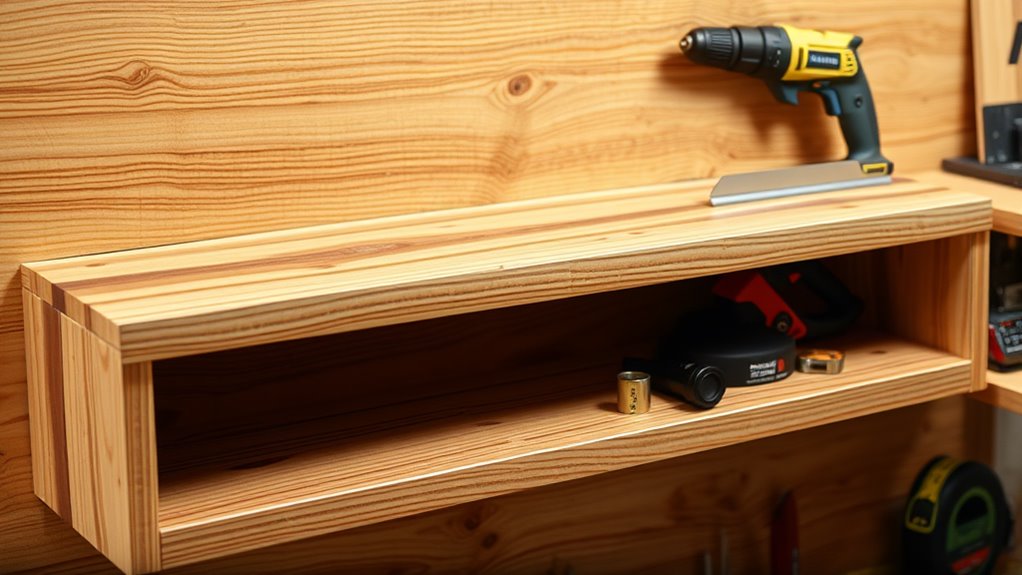
Install the Shelf
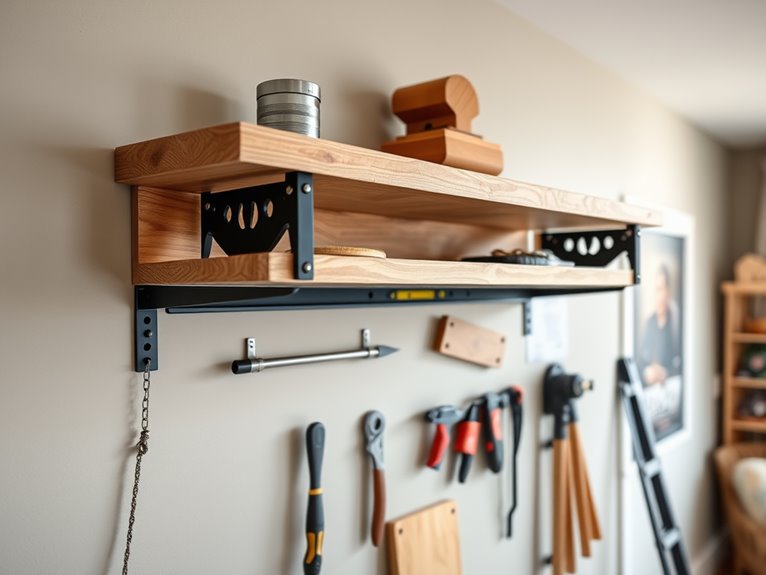
Now that your brackets are securely in place, it's time to install the shelf. Take a deep breath and grab your shelf. Carefully position it on the brackets, making certain it's centered and level. You want to make certain it's sitting snugly, as this will impact shelf stability.
If it feels a bit wobbly, don't worry—simply adjust the brackets until everything feels just right. Before securing the shelf, double-check the wall materials. Different materials, like drywall, concrete, or brick, require different anchors or screws. Knowing this will help you choose the right fasteners and make sure your shelf can hold whatever you plan to display.
Once you're confident in the placement, use a level to make certain it's perfectly straight. Next, secure the shelf to the brackets with screws, tightening them firmly but not overly so. You don't want to strip the holes!
After everything's secured, give the shelf a gentle shake to test its stability. Feel that? That's the satisfaction of knowing your hard work is paying off. You're one step closer to enjoying your new shelf!
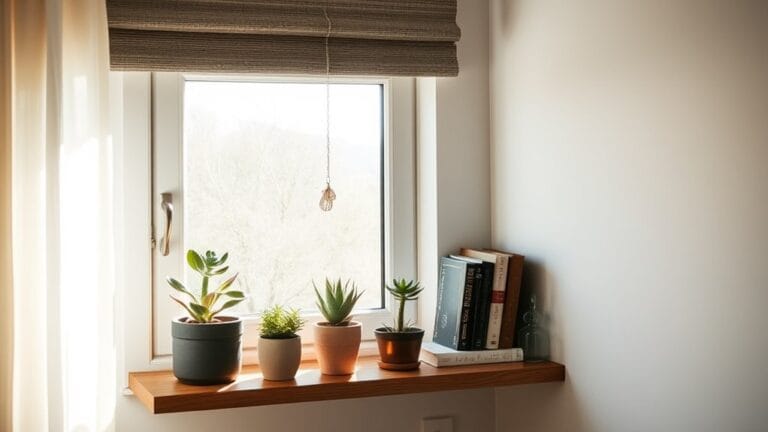
Style and Decorate Shelf
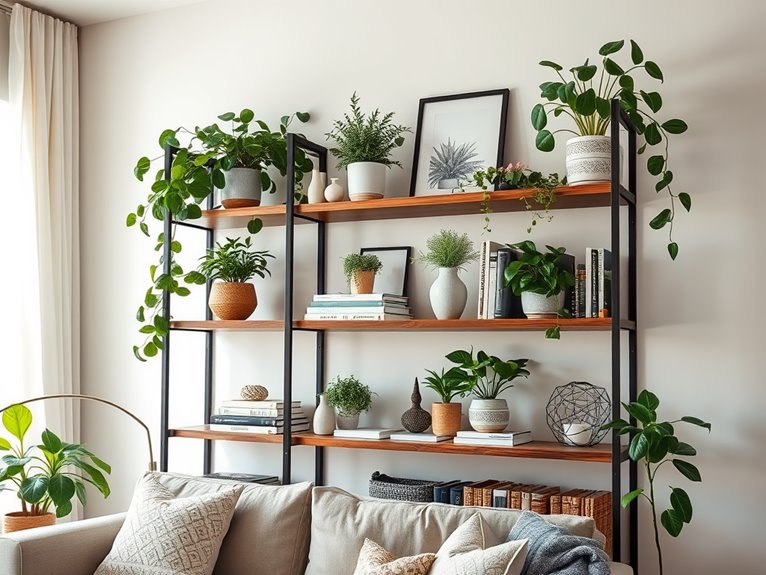
Your newly installed shelf is a blank canvas waiting to be transformed. Now's your chance to show off your personality through shelf styling! Start by selecting a few decorative accents that resonate with you. Think about what makes you smile. Here are some ideas to get you started:
- A collection of your favorite books
- Stylish plants or succulents
- Unique picture frames filled with memories
- Eye-catching art pieces or sculptures
- Whimsical decorative objects, like globes or vintage finds
Mixing different heights and textures can add visual interest. Don't be afraid to play with colors, either! A pop of bright color can really make your shelf stand out.
Remember, it's all about balance—group items in odd numbers for a more natural look.
As you arrange your items, ask yourself: What story do I want to tell? Your shelf can reflect your interests, your travels, or even your favorite hobbies.
Frequently Asked Questions
What Wood Types Are Best for Heavy Items?
When you're planning to hold heavy items, you'll want the right wood. Plywood options can be strong and durable, perfect for heavier loads.
But don't overlook hardwood choices like oak or maple; they're solid and can handle weight well.
Think about how much you want to store and choose wisely. Isn't it exciting to create something functional?
With the right materials, you'll build a shelf that lasts and looks great!
How Do I Ensure My Shelf Is Level?
Picture your shelf as a steady bridge, supporting all your treasured items.
To guarantee your shelf is level during installation, grab a level measurement tool. Place it across the shelf and adjust until the bubble sits perfectly between the lines. Don't forget to check both sides!
A level shelf not only looks great but also keeps your belongings safe.
What Are the Best Finishes for Wood Shelves?
When it comes to finishing your wood shelves, you've got some fantastic options!
A rich wood stain can highlight the natural beauty of the grain, adding warmth and character.
After staining, don't forget to apply a protective coating, like polyurethane or varnish, to keep your shelves safe from scratches and spills.
Which finish speaks to you? Embrace the process, and soon you'll have stunning shelves that showcase your style and creativity!
Can I Use Reclaimed Wood for My Shelf?
Absolutely, you can use reclaimed wood for your shelf!
Imagine transforming weathered boards into a piece of art that tells a story. The benefits of reclaimed wood are endless; it's eco-friendly, adding character to your space.
Plus, sourcing reclaimed wood can be an adventure, from local salvage yards to online marketplaces.
So, why not jump in? You'll create something unique and sustainable that reflects your style and values.
Let your creativity soar!
How Do I Prevent Wood From Warping?
To prevent wood from warping, you've got to focus on moisture control.
Start by choosing a wood treatment that seals the surface, protecting it from humidity changes. You can also keep your shelves in a climate-controlled environment, which helps a lot.
Have you ever noticed how temperature swings affect wood? By maintaining a steady environment, you'll guarantee your shelves stay beautiful and strong for years to come.
Isn't that a comforting thought?
Conclusion
Now that you've crafted your splendid shelf, it's time to showcase your style and savor the satisfaction of your handiwork. Each piece of wood tells a story, and your shelf will become a special spot for cherished treasures. So, why wait? Gather your goodies, decorate with delight, and let your creativity shine! Remember, every shelf holds the potential for personal expression. Go ahead, make your space sparkle with character and charm—enjoy the journey of creation!