Installing wall shelves can be a breeze when you've got the right tools and a few handy techniques. Start with a stud finder to locate support beams, ensuring your shelves stay secure. Use a laser level to mark straight lines for perfect alignment, and measure 44 inches for your lowest shelf. Don't forget to drill pilot holes to prevent splintering! Check your brackets, fill gaps with wood filler, and step back to admire your work. Feeling inspired? There's plenty more to explore, and you'll find additional tips to truly elevate your shelving game!
Design Highlights
- Use a stud finder to locate wall studs for secure shelf anchoring and maximum support.
- Measure and mark shelf heights accurately, maintaining 44 inches for the lowest shelf and 9.75 inches between shelves.
- Employ a laser level to ensure shelves are perfectly straight and aligned before drilling.
- Pre-drill pilot holes to prevent wood splitting and ensure a smoother installation process.
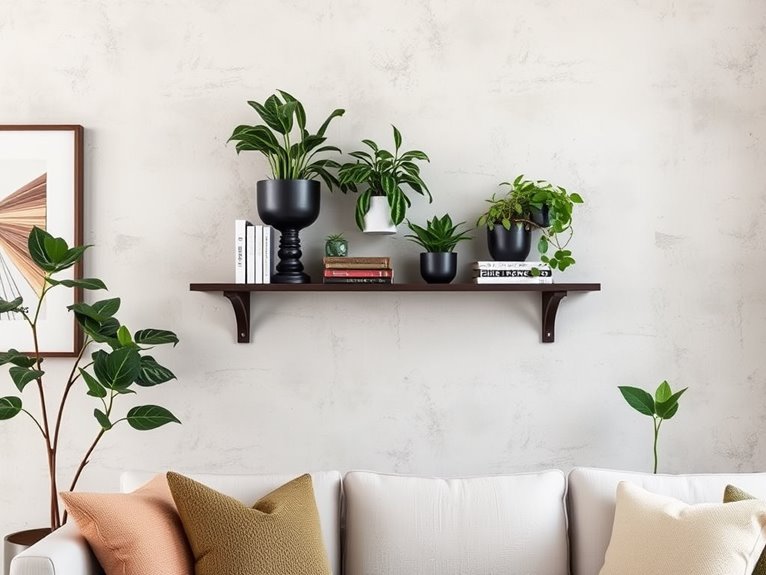
- Finish your shelves by filling gaps with wood filler and covering screws with decorative caps for a polished look.
Essential Tools and Materials
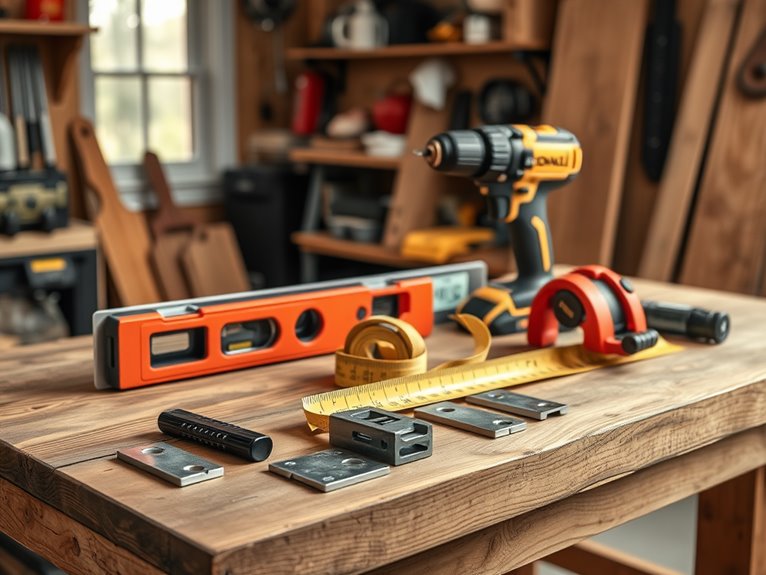
When you're getting ready to install wall shelves, having the right tools and materials on hand makes a big difference.
Start with a stud finder; it's vital for locating wall studs to guarantee your shelves are securely anchored. You wouldn't want them sagging under the weight of your favorite books, right?
Next, grab a laser level. This handy tool helps you create straight lines, assuring your shelves are perfectly aligned and giving that professional touch to your space. Additionally, using durable materials will ensure your shelves can support the weight of seasonal decor items, such as textured items that add warmth and comfort. Incorporating fade-resistant treatments will help maintain the vibrant colors of your seasonal decor, especially for items that enhance your summer home gym decor.
Frogtape is another must-have. It's perfect for measuring distances and marking hole positions without damaging the wall. You'll appreciate how easy it makes precise shelf placement!
Don't forget your drill and the correct drill bits. These are important for creating pilot holes; the size of the bit should match the type of screws or anchors you plan to use.
Finally, consider a punch tool to mark exact drilling spots. This small tool makes all the difference, helping you maintain consistent measurements and reducing the risk of misalignment.
Additionally, incorporating quality materials enhances the durability of your shelves, ensuring they withstand high-moisture environments for a long time.
With these essentials, you're on your way to a successful shelf installation that enhances your home beautifully! Are you ready to get started?
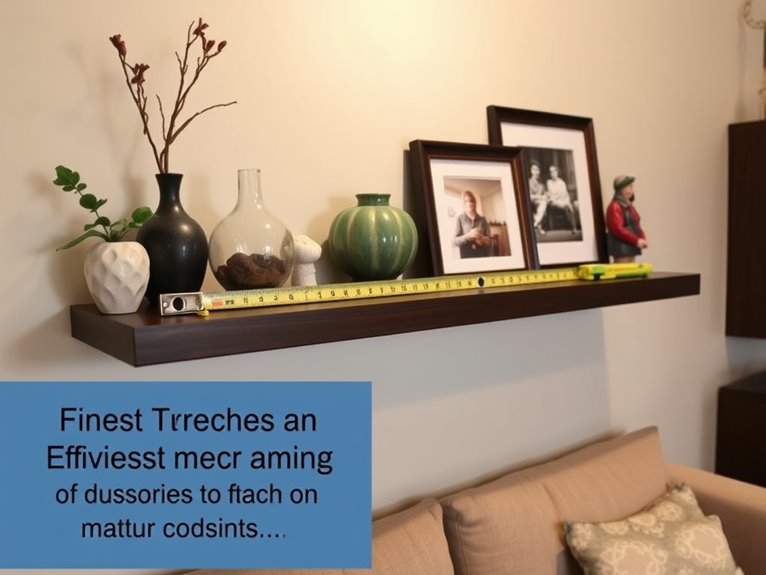
Accurate Measuring Techniques
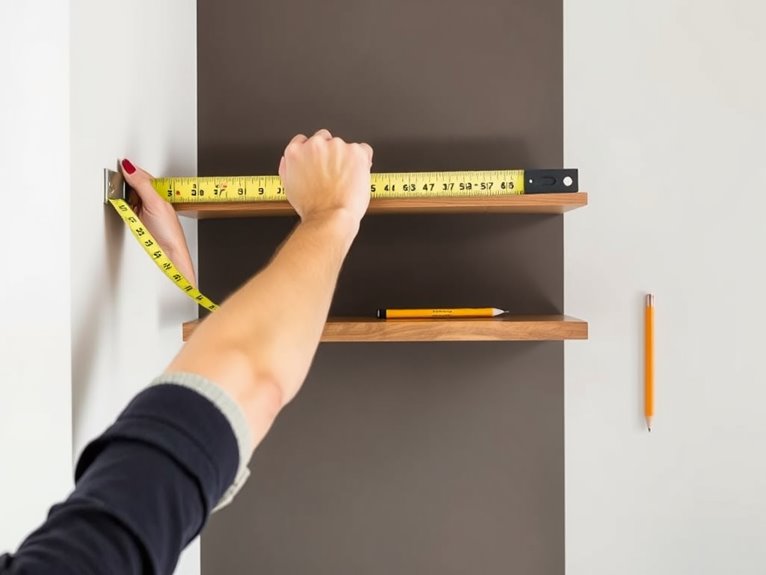
How can you guarantee your wall shelves are perfectly positioned? Start with accurate measuring techniques that'll set you up for success. Grab some Frogtape and visualize where your shelves will go. For ideal spacing, maintain a consistent distance of 10.5 inches from the wall, and leave 9.75 inches between each shelf. To create an inviting atmosphere, consider incorporating pastel-colored decorative elements that can be placed on your newly installed shelves. Adding floral arrangements can also enhance the spring vibe of your space. Additionally, using seasonal elements can keep your decor fresh and relevant. Adding motivational decor can further elevate the aesthetic and inspire your workout environment.
To establish a standard height, mark the wall at 44 inches for your lowest shelf. This way, all your shelves will align beautifully.
Next, employ a laser level. It's a game changer! Align the tape with your screw holes, ensuring everything's perfectly level before you drill. Remember, measure twice and mark once on the Frogtape. This guide is flexible, allowing you to make adjustments before you commit to the wall.
Don't forget to use a stud finder to locate wall studs accurately. This step's essential for heavier shelves, preventing sagging over time. Additionally, consider implementing collapsible storage solutions to enhance the functionality of your newly installed shelves.
Marking and Aligning

Marking and aligning your wall shelves is vital for a professional finish. You want them to look great and be perfectly straight, right? Start by using Frogtape to measure and mark where your shelf will go. Align the tape with the top edge of the shelf for precise placement.
Here are some tips to help you along the way:
- Measure 44 inches from the ground for the lowest shelf.
- Keep a consistent 9.75 inches of space between each shelf.
- Maintain a distance of 10.5 inches from the wall for depth.
- Use a laser level to guarantee everything is aligned perfectly.
- Employ a punch tool to mark hole positions for accurate drilling.
Don't forget to check for wall studs with a stud finder before you start. This step is essential for confirming your shelves have maximum support. Additionally, consider using durable materials to ensure your shelves can withstand outdoor elements if you're installing them in a porch setting. Incorporating warm autumnal colors can elevate your decor once the shelves are installed. Furthermore, selecting weather-resistant wood will enhance the longevity of your shelves in harsh conditions. To create a cozy atmosphere, consider adding warm lighting around your shelves, which can enhance the overall decor.
Once you've marked everything and confirmed it's level, you're ready to move on to drilling. With careful marking and aligning, your shelves won't only be functional but will also enhance the beauty of your space!
Drilling and Anchoring
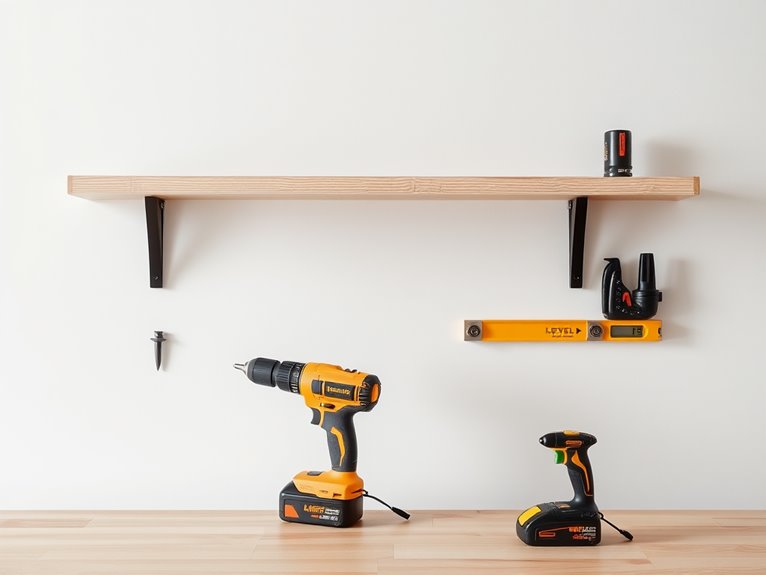
Drilling and anchoring your wall shelves is an important step in guaranteeing they're secure and can hold the weight of your items. Start by using a stud finder to locate the wall studs. Anchoring into these studs gives you the best support, as they can hold considerably more weight than drywall alone.
Next, when you're drilling pilot holes, make sure they're appropriately sized for the anchors or screws you'll be using. A common drill bit size for hollow-wall anchors is around 3/16 inches. Pre-drilling holes is vital, especially for hardwood shelves, as it prevents the wood from splitting. This simple step can extend the life of both your drill bits and your shelves. Additionally, consider the durability of materials used in your shelf design to ensure they withstand outdoor conditions if placed outside. Incorporating functional decor in your shelf arrangement can enhance both the aesthetics and practicality of your space, especially when selecting high-quality wood that ensures durability and moisture resistance. For example, using weather-resistant resin can provide longevity for outdoor shelf decor.
If you find that studs aren't available or are misaligned, don't worry. Consider using figure-eight fasteners or snaptoggle anchors; they provide reliable support for heavier shelves, too. Additionally, it's a good idea to decorate your shelves with summer patio decor to enhance the overall aesthetic of your space.
Once you've drilled and anchored, take a moment to check that all screws are tightened and level. This attention to detail will help prevent any sagging or shifting over time.
Using Leveling Tools
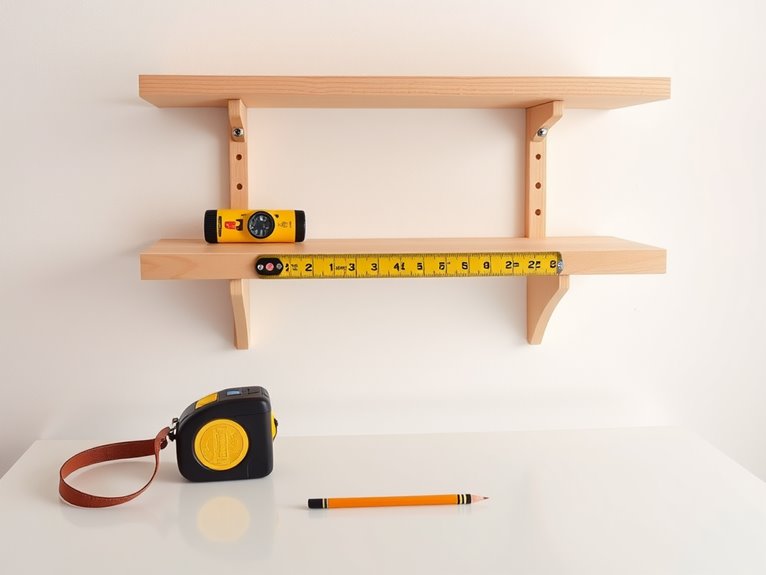
Using leveling tools is essential for achieving a professional finish when installing wall shelves. Without them, even the smallest misalignment can throw off your entire project. So, let's explore how to make your installation a breeze!
Consider using these handy leveling tools:
- Laser level: Projects a straight laser line, ensuring perfect alignment.
- Self-leveling lasers: Automatically adjust to give you a level line, even if slightly tilted.
- Traditional level: Always check both horizontal and vertical levels before marking any holes.
- Measuring tape: Measure from the ground to your desired height for precise shelf placement.
- Pencil: Draw a light line as a guide for drilling holes.
When you hold the shelf in place, a laser line helps you see if it's level. If it's off just a little bit, you can make adjustments before drilling. Additionally, consider incorporating a cohesive theme to enhance your shelf decor after installation, as this can significantly elevate the overall aesthetic of your space. Incorporating vibrant summer colors can also create an inviting atmosphere that complements your shelf arrangement. Choosing durable materials for your shelf decor is crucial for long-lasting display. Remember, using high-quality materials ensures that your decor remains vibrant throughout the season. This is especially true for holiday dining decor, which benefits from thoughtful and stylish arrangements.
Using these tools minimizes errors, reducing the chances of re-drilling or adjusting later on. So embrace these leveling tools, and watch your shelves transform your space beautifully!
You'll be amazed at how easy it can be!
Creative Installation Methods
When it comes to wall shelf installation, creative methods can make a significant difference in both strength and aesthetics. If you're thinking about hanging shelves, consider using figure-eight fasteners. They're simple to install and provide excellent support when placed over wall studs, making your project easier.
For heavier shelves or cabinets, French cleats are a fantastic choice. These interlocking beveled strips allow for easy mounting and relocation, ensuring a secure hold.
To simplify leveling, incorporate self-leveling laser tools. These gadgets help you make sure your shelves are perfectly aligned, especially when installing multiple units.
Another option is a hanging rail system, which not only boosts strength but also allows for adjustable positioning, keeping your screw heads hidden for a cleaner look.
If you're aiming for a more discreet installation, keyhole slots offer a hidden mounting option. Just remember to mark the center of the keyholes on tape before transferring the measurements to the wall for precise installation.
With these creative installation methods, you'll not only achieve a sturdy setup but also enhance the overall look of your space. Incorporating decorative accents can further personalize your shelves and make them a focal point in your room. So, gather your tools and get started!
Final Touches and Adjustments
After hanging your shelves, take a moment to verify they're perfectly horizontal. This small step makes a big difference in the overall look of your space. Use a level to check alignment and make any necessary adjustments. If things aren't flush, loosen the screws slightly and reposition the shelf until it's just right.
Here are a few final touches you can make for a polished finish:
- Inspect the alignment of your mounting brackets; adjust them if the shelves seem uneven.
- If you've installed floating shelves, consider using a laser level to ascertain precision.
- Check for any gaps between the wall and shelf, filling them with wood filler or caulk for a seamless look.
- Secure visible screws with decorative caps or paint them to match your shelves.
- Stand back and admire your hard work—does everything look balanced and inviting?
These adjustments not only enhance the aesthetic but also bring a sense of satisfaction and completion to your project.
Frequently Asked Questions
How Do You Install Shelves Easily?
Installing shelves can be a fun project! First, grab a stud finder and mark where the studs are for support.
Next, use a laser level to keep everything straight—no one wants a crooked shelf! Measure and mark where your brackets will go, then pre-drill holes to avoid splitting the wood.
Finally, secure your brackets and place the shelves. Stand back and admire your handiwork. Isn't it rewarding to create something beautiful?
How to Hang a Shelf Without Putting Holes in the Wall?
Hanging a shelf without making holes in your wall can be a fun challenge!
You can use adhesive shelves or command strips, which stick firmly and don't damage surfaces. Magnetic shelves are great, too, allowing easy repositioning.
Just make sure your wall is clean and dry for the best hold. Imagine the joy of displaying your favorite items without the worry of repairs.
Why not give it a try? You'll love the results!
What Is the Best Way to Hang a Wall Shelf?
Hanging a wall shelf can feel like crafting a masterpiece in your home.
Start by finding sturdy studs with a stud finder; they're your canvas's backbone. Use a laser level to guarantee it's straight, like a tightrope walker balancing high above.
Pre-drill your holes to prevent splits, and choose strong anchors for support.
With careful marking and a bit of patience, you'll transform your space into a gallery of memories.
Isn't that worth it?
What Is the Rule of Thumb for Hanging Shelves?
When you're hanging shelves, a good rule of thumb is to start the bottom shelf about 44 inches off the ground. This height makes it easy for you to reach and see your items.
Keep a distance of 10.5 inches from the wall to avoid clutter and guarantee accessibility. Also, leave about 9.75 inches between shelves.
Using a laser level will help you align everything perfectly. Happy decorating!
Conclusion
Now that you've got the tools and techniques down, imagine transforming your walls into a stunning gallery of memories and treasures! With just a few simple steps, you're not just installing shelves; you're creating a space that tells your story. Isn't it thrilling to think about the endless possibilities? So grab your tools, embrace your inner DIY wizard, and get started! Your walls are waiting for a touch of your magic—let's make them shine!