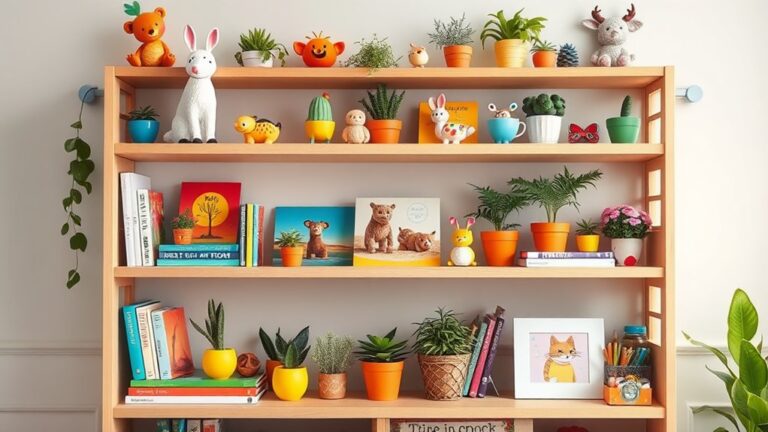
I love transforming shelves into colorful displays that spark joy! You can create painted wooden blocks for lively pops of color, or try crafting whimsical paper mache animals for a fun rainy day project. DIY photo frame displays let you showcase cherished memories, while creative terrarium jars bring a touch of nature indoors. Personalized name banners can add a unique flair, and fabric garlands make for playful accents. If you're feeling adventurous, upcycle jars for organization or design miniature book nooks to inspire imagination. Ready to dive deeper into these delightful projects? There's so much more fun to explore!
Design Highlights
- Create colorful painted wooden blocks to personalize shelves and spark creativity through fun patterns and arrangements.
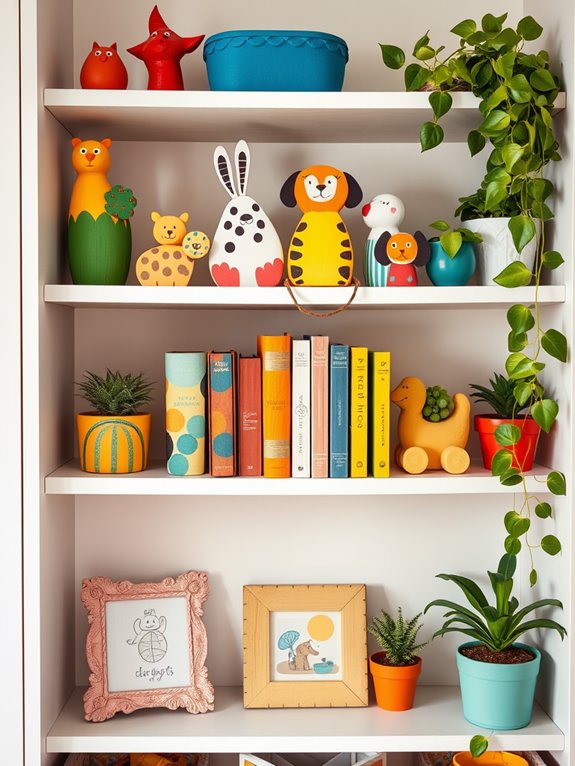
- Engage kids in making whimsical paper mache animals for playful and vibrant shelf displays.
- Customize DIY photo frames using cherished family photos, allowing kids to decorate with paint and embellishments.
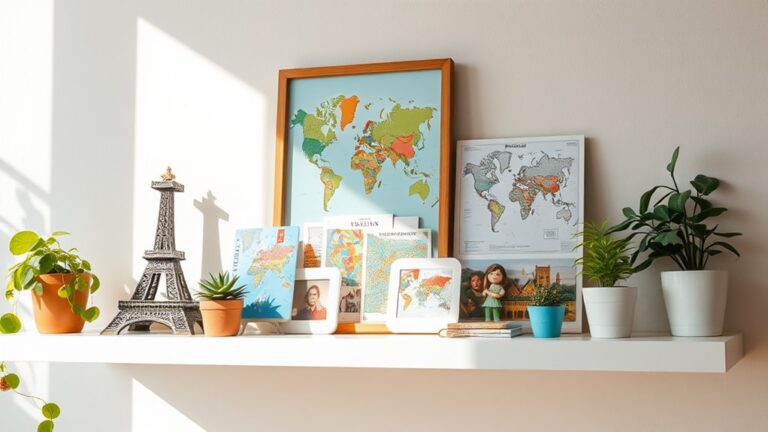
- Design nature-inspired shelf arrangements with small potted plants and natural elements to foster curiosity and appreciation for the outdoors.
- Craft fun fabric garlands in unique shapes for a playful and decorative touch on shelves.
Colorful Painted Wooden Blocks
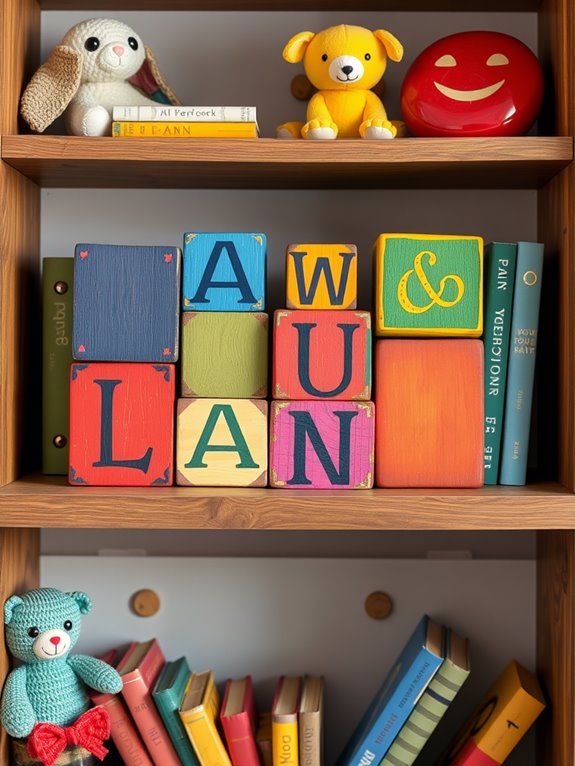
Colorful painted wooden blocks can transform any shelf into a playful display. Imagine those vibrant hues catching the eye, instantly brightening up a room! I love how such simple shapes can spark joy and creativity. When I sit down to paint blocks with my kids, it becomes a delightful experience for all of us. We choose colors that match their favorite themes—bright blues, sunny yellows, or soft pastels.
You don't need to be a master artist; just let your imagination run wild! Consider adding fun patterns or even letters to personalize each block. Wouldn't it be special to spell out their name or a favorite word? Using durable materials ensures that these painted blocks can withstand the wear and tear of active play. Incorporating spring shelf decor ideas allows you to enhance the overall theme of your playroom with creativity. Additionally, these blocks can serve as a colorful accent to complement other seasonal decorations on your shelves. It's also essential to choose items that withstand temperature and humidity changes, ensuring their longevity in a sunlit environment.
Once they're painted, we like to arrange them on the shelf in different ways, creating little stories or scenes. Sometimes, I stack them high, while other times, I lay them out flat. The best part? It's a project that evolves over time! You can always paint more blocks or rearrange them as your kids grow. Plus, using stain-resistant materials can help keep these joyful treasures looking fresh and vibrant. So, why not take a weekend to craft these joyful treasures? Your shelves (and your hearts) will thank you!
Whimsical Paper Mache Animals

Creating whimsical paper mache animals is a fantastic way to spend a rainy afternoon with your kids. There's something magical about transforming simple materials into vibrant creatures that can bring a smile to anyone's face. You'll need newspapers, flour, water, and some paint—easy enough, right? You can also enhance your home office atmosphere with summer shelf decor ideas that complement your crafting space. Additionally, consider incorporating color coordination to ensure your creations harmonize beautifully with your home decor.
Start by tearing the newspaper into strips, and mix flour with water to create a paste. Together, you can mold your animals by shaping a balloon or crumpling paper into a fun form. How about a silly elephant or a playful puppy? Let your imagination run wild! Remember to use durable materials that can withstand the test of time, ensuring your creations remain vibrant. Additionally, consider using non-toxic options to make the crafting process worry-free for both you and your children.
Once the shape is dry, it's time for the fun part—painting! You can use bright colors, patterns, or even glitter to make your creations pop. Encourage your kids to think outside the box. What colors would a rainbow unicorn wear? Also, consider using non-toxic and odorless materials to ensure a safe crafting environment, as material durability and safety are crucial for children.
After your whimsical animals are complete, display them proudly on a shelf. Every time you pass by, you'll be reminded of that joyful day spent crafting together. It's not just about the finished product; it's the laughter and creativity shared. So gather those supplies, and let's get crafting! What whimsical animal will you create?
DIY Photo Frame Displays

When it comes to adding a personal touch to your child's shelf, DIY photo frame displays are a perfect choice. They not only showcase cherished memories but also let your little one express their creativity. I love how easy and fun it is to make these frames together! Here's how we can create beautiful displays:
- Choose Your Frames: Gather some inexpensive frames, or even make your own from cardboard or popsicle sticks. Customization is key, and using spring shelf decor items can make the frames even more unique! Selecting quality materials ensures that the frames will last through the years.
- Select Photos: Pick out favorite family moments or fun adventures. It's a great opportunity for your child to reflect on special times and could be enhanced with spring-inspired elements to tie the display to the season. Incorporating seasonal decor integration can keep the space feeling fresh and inviting.
- Decorate the Frames: Let your child release their inner artist! They can paint, use stickers, or add glitter. The more personal, the better.
- Arrange the Display: Once the frames are ready, help your child arrange them on the shelf. Play around with different layouts until it feels just right.
This DIY project not only brightens up the shelf but also builds confidence and creativity. Additionally, incorporating elements like spring-inspired shelf decor can further enhance the aesthetic appeal of the display. So, what memories are you excited to showcase? Let's get crafting!
Creative Terrarium Jars
Creative Terrarium Jars
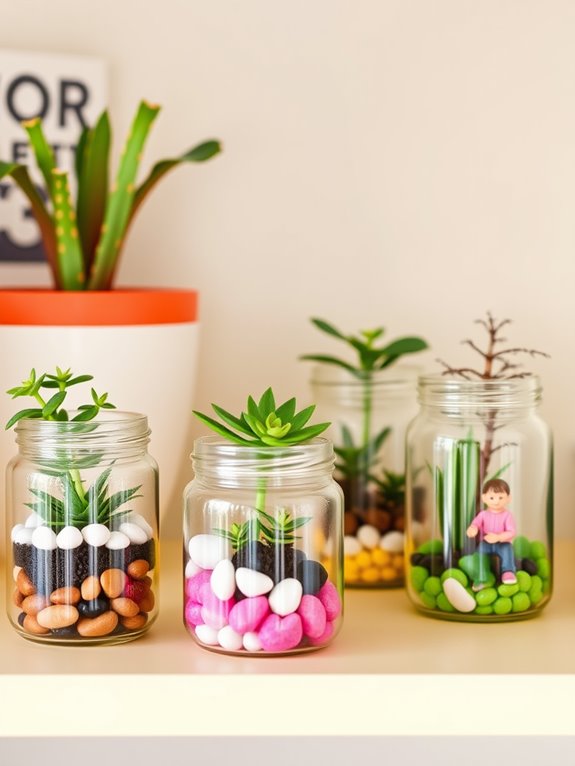
Terrarium jars frequently become a delightful project for kids, blending nature and creativity in one charming display. When I first tried making a terrarium, I was amazed at how much fun it was! All you need is a clear glass jar, some potting soil, small plants, and a sprinkle of decorative elements like stones or tiny figurines. You can even find spring children's bedroom shelf decor that complements your terrarium beautifully. Adding some stylish shelf decor can elevate the overall aesthetic of your display. Additionally, using safe, non-toxic materials ensures a healthy environment for your little ones.
Start by layering the soil at the bottom of the jar. Next, choose your plants—succulents work great for beginners! It's exciting to arrange them just how you like. Have you ever thought about how each plant can tell a story? You can even add little treasures, like seashells or small toys, to make it uniquely yours. Incorporating vibrant artificial floral arrangements can further enhance the charm of your terrarium.
Once your jar is complete, place it on your shelf as a living piece of art. Watching it grow and change over time can be so rewarding! Plus, it's a perfect way to bring a bit of nature indoors. So, why not gather some supplies and plunge into this creative adventure? You'll not only create something beautiful but also learn about caring for your little green friends. Incorporating floral motifs into your decor can further enhance the charm of your terrarium. Isn't that a win-win?
Personalized Name Banners

Personalizing a name banner can transform a simple space into a vibrant expression of individuality. I love how a name banner adds a personal touch to any room, making it feel warm and inviting. Creating one is easier than you might think, and it can be a fun project for kids too! Here's how to get started:
- Choose Your Materials: You can use colorful paper, fabric, or even felt. Each option brings a different vibe to the banner. Consider using summer kitchen decor items for inspiration!
- Pick a Design: Think about what shapes, colors, or patterns resonate with your child's personality. Will it be whimsical, bold, or elegant?
- Craft the Letters: Cut out the letters of the name in your chosen material. You can even add embellishments like glitter or stickers for extra flair.
- String It Up: Attach the letters to a piece of twine or ribbon. Hang it on a shelf or wall, and watch the space come alive! Additionally, consider incorporating summer-inspired decor to complement the vibrant colors of the banner. Utilizing high-quality materials ensures durability, allowing your banner to be enjoyed for seasons to come.
Isn't it amazing how something so simple can make such a big difference? Personalizing a name banner not only decorates a room but also celebrates who your child is! Incorporating soft pastel colors can enhance the overall aesthetic and create a cheerful atmosphere. Additionally, using holiday-themed decor can make the banner even more festive during special seasons.
Fun Fabric Garland Ideas
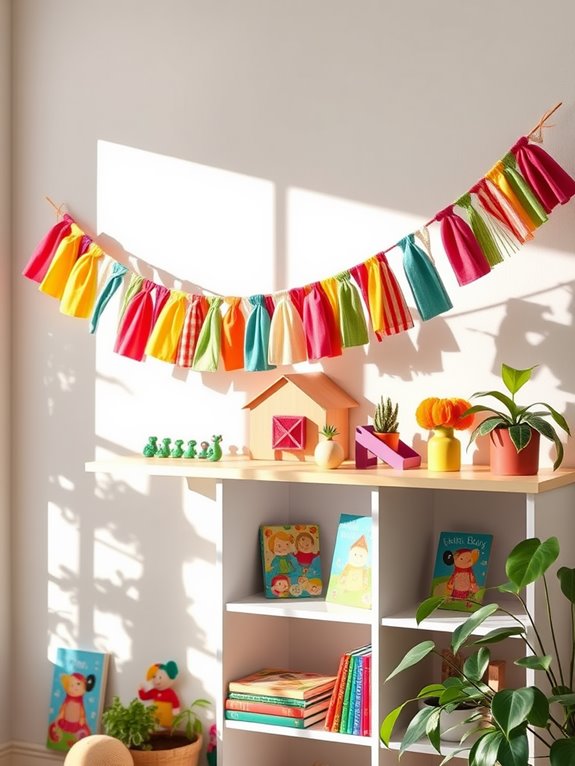
Creating a fun fabric garland can instantly brighten up any room and spark joy in your child's space. I love how easy it is to make and how it can reflect your child's personality. Imagine a colorful garland draping across their shelf, adding a touch of whimsy!
Here are some ideas to inspire your fabric garland project:
| Fabric Type | Design Idea |
|---|---|
| Cotton Prints | Fun shapes like stars |
| Felt | Bright animal cutouts |
| Vintage Fabrics | Polka dots or stripes |
| Denim | Upcycled patchwork |
| Sheer Fabrics | Layered ruffles |
You can involve your child in choosing the fabrics, making it a bonding experience. Simply cut the fabric into various shapes, string them together with twine or ribbon, and hang them proudly!
Why not let their creativity shine? Each garland can tell a story or celebrate their favorite themes, like superheroes or nature. You'll create not just decor, but memories and laughter along the way. So, gather your supplies, and let's get crafting! Your child's room will thank you for it!
Miniature Book Nook Projects

Transforming a simple shelf into a miniature book nook can really bring a sense of magic to your child's reading space. I love the idea of creating a cozy corner where stories come to life! It's such a fun project that sparks creativity and imagination. Here's how to get started on your own miniature book nook:
- Choose a Theme: Whether it's a forest, outer space, or a cozy cottage, pick something that resonates with your child's interests.
- Gather Materials: Look for small figurines, colorful paper, and craft supplies. You can even use items from nature, like twigs or pebbles.
- Create a Backdrop: Use painted cardboard or patterned paper to set the scene. A painted night sky can add a dreamy touch!
- Arrange Your Nook: Let your child help place the books and decorations. It's all about making it personal and inviting!
Once it's all set up, watch as they plunge into their books, inspired by the magical world you've created together. Isn't it wonderful how a little creativity can transform reading time into an adventure?
Upcycled Jar Organizers
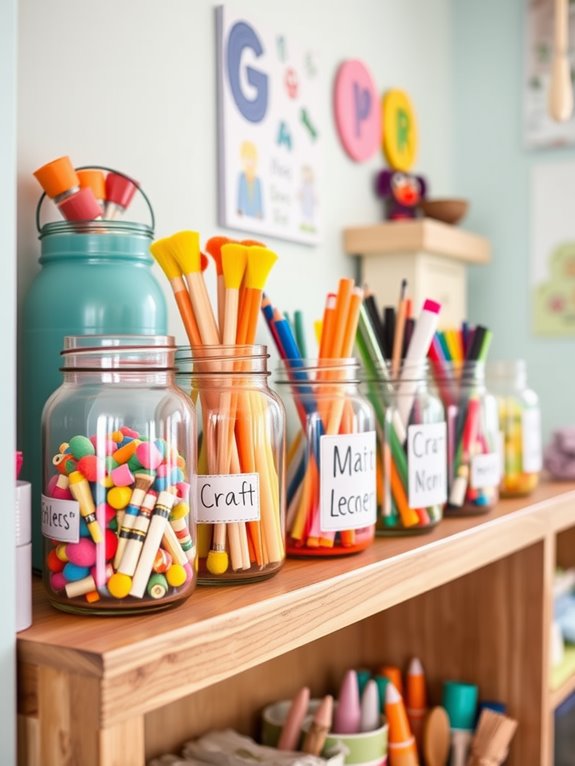
Upcycling jars into organizers is a simple yet effective way to declutter your child's space while adding a touch of creativity. I love transforming old jars into stylish storage solutions that not only look great but also teach kids about recycling. You won't believe how easy it is!
First, gather some jars—think glass, plastic, or even tin. Clean them up and let your child decorate them however they like. They can paint, use stickers, or wrap twine around the lids. This is a fantastic way for them to express their personality!
Once the jars are ready, they can hold anything from crayons and markers to small toys or hair accessories. I find that labeling each jar adds an extra layer of fun and helps kids learn organization skills. Plus, when everything has its place, it's easier to keep the room tidy.
Encouraging your child to help with this project fosters teamwork and creativity. So, why not plunge into this fun DIY activity together? You'll not only create a more organized space but also share some memorable moments. What will you and your child create?
Nature-Inspired Shelf Arrangements

Nature-inspired shelf arrangements bring a fresh and vibrant touch to your child's space, making it feel more connected to the outdoors. I love how a simple shelf can transform into a mini garden, sparking joy and curiosity! Here's how to create a nature-inspired display that will delight both you and your child:
- Incorporate Plants: Use small potted plants or succulents. They're easy to care for and add a lively green element to the shelf.
- Add Natural Elements: Collect rocks, pinecones, or colorful leaves during your nature walks. These treasures can serve as unique decor pieces.
- Display Nature-Themed Books: Choose books about animals, plants, or the environment. They'll inspire learning and curiosity while looking great on the shelf.
- Craft Nature Art: Encourage your child to create art using natural materials. Whether it's a leaf collage or painted stones, their creativity will shine.
Creating a nature-inspired shelf isn't just decor; it's an opportunity to engage with nature and spark conversations. So, why not gather some materials and start crafting a beautiful shelf that reflects the wonders of the world outdoors?
Frequently Asked Questions
What Materials Are Safe for Kids to Use in DIY Projects?
When I think about safe materials for kids' DIY projects, I get excited! You can't go wrong with non-toxic paints, recycled paper, and cardboard. Felt and fabric scraps are great, too! I always keep scissors with rounded tips handy. What about using clay? Air-dry clay's perfect for little hands. Remember, it's all about creativity, so let's encourage kids to explore while keeping safety in mind. What fun projects will you create together?
How Can I Involve My Kids in the Decorating Process?
Decorating together can transform your home into a canvas of creativity! I've found that involving my kids in the decorating process not only sparks their imagination but also creates lasting memories. Let them choose colors, arrange items, or even create their own art. Why not turn it into a fun family project? By collaborating, we infuse our space with personal touches that reflect our unique story, making every corner feel special and loved.
What Tools Do I Need for These DIY Shelf Decor Ideas?
When diving into DIY decor, I've found a few essential tools make the process smoother and more enjoyable. You'll need scissors, glue, and a good paintbrush, of course! A cutting mat and a ruler help with precision, while craft paper or fabric adds flair. Don't forget a hot glue gun for quick fixes! With these tools, I can release creativity and transform any shelf into a unique masterpiece. Ready to get started?
How Can I Make These Projects More Educational for My Kids?
When it comes to making projects educational, think of it as planting seeds in a garden of curiosity. I often incorporate lessons about colors, shapes, or even the science behind materials we use. Why not turn each step into a fun discussion? We could explore history by learning about different cultures' art styles. Plus, engaging kids in storytelling while they craft keeps their minds buzzing. Isn't it wonderful to make learning a hands-on adventure?
What Are Some Easy Clean-Up Tips After Crafting With Kids?
Cleaning up after crafting with kids can feel overwhelming, but it doesn't have to be! I usually set up a designated cleanup station with a trash bag and wipes nearby. Encourage your kids to help by making it a game—whoever picks up the most scraps wins! I also use old newspaper or a plastic tablecloth to catch messes beforehand. It's amazing how much easier cleanup becomes when everyone pitches in together!